交換器(Exchange)的路由(Routing)功能 現在我們已經更正確的使用交換器功能,而非將訊息直接寫入佇列,為什麼需要這樣做呢?因為RabbitMQ交換器擁有路由功能,當訊息進入交換器時,可以透過種類來分配到不同的佇列裡,以官網的例子就是LOG處理機制。
LOG的重要程度可大致分為 Debug, Info, Warning, Error, Fatal.
這樣在宣告佇列時就可以綁定到該分配器,但指定不同QueneName, RouteKey. EX:
1
2
channel.QueueBind(queue: queueName, exchange: "direct_logs" , routingKey: "INFO" ); channel.QueueBind(queue: queueName, exchange: "direct_logs" , routingKey: "WARNING" );
以下會用publisher分別發送兩個訊息到交換器,並指定不同的RouteKEY
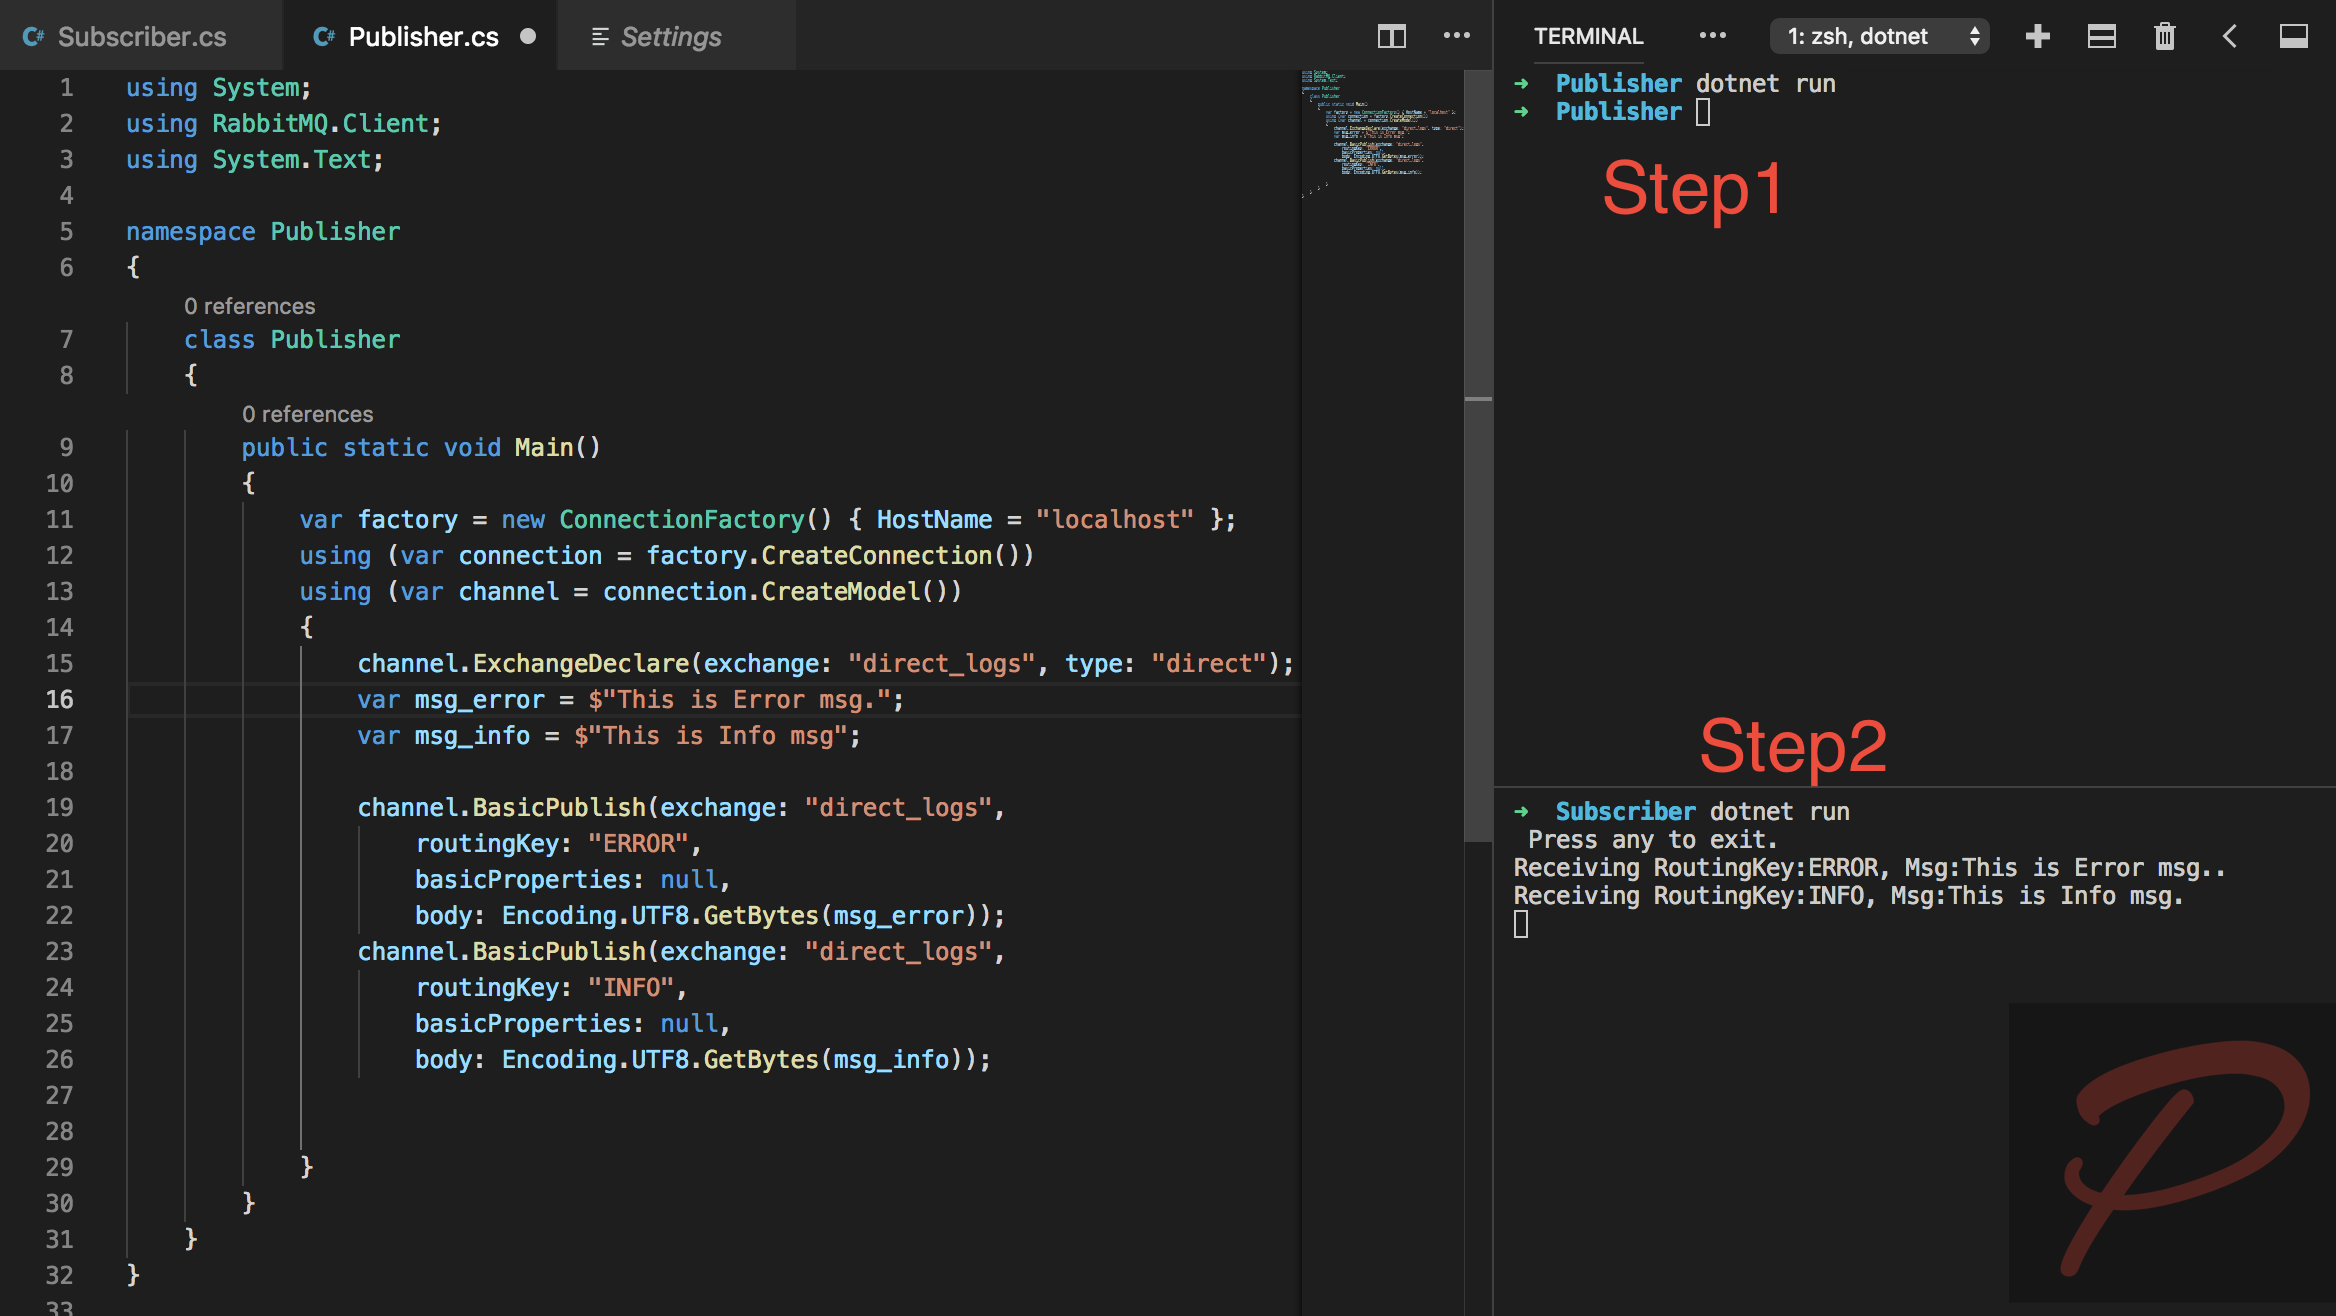
Publisher 宣告兩個訊息並指定RouteKey分別為”ERROR”與”INFO”
1
2
3
4
5
6
7
8
9
10
11
12
channel.ExchangeDeclare(exchange: "direct_logs" , type: "direct" ); var msg_error = $"This is Error msg." ;var msg_info = $"This is Info msg" ;channel.BasicPublish(exchange: "direct_logs" , routingKey: "ERROR" , basicProperties: null , body: Encoding.UTF8.GetBytes(msg_error)); channel.BasicPublish(exchange: "direct_logs" , routingKey: "INFO" , basicProperties: null , body: Encoding.UTF8.GetBytes(msg_info));
Subscriber 這邊雖然只用了一個佇列但綁定了四個不同RouteKey,收到訊息後印出是指定哪個RouteKey與內容。
1
2
3
4
5
6
7
8
9
10
11
12
13
channel.QueueBind(queue: queueName, exchange: "direct_logs" , routingKey: "INFO" ); channel.QueueBind(queue: queueName, exchange: "direct_logs" , routingKey: "WARNING" ); channel.QueueBind(queue: queueName, exchange: "direct_logs" , routingKey: "ERROR" ); channel.QueueBind(queue: queueName, exchange: "direct_logs" , routingKey: "FATAL" ); var consumer = new EventingBasicConsumer(channel);consumer.Received += (model, ea) => { var body = ea.Body; var msg = Encoding.UTF8.GetString(body); var routingKey = ea.RoutingKey; Console.WriteLine($"Receiving RoutingKey:{routingKey} , Msg:{msg} ." ); };
最後分別執行兩支程式,結果如下圖:
程式範例檔 完整的範例檔放在這 範例 ,有興趣的可以自行下載,此版本與之前文章不同,是用 .Net Core開發的。